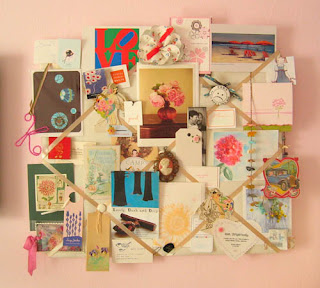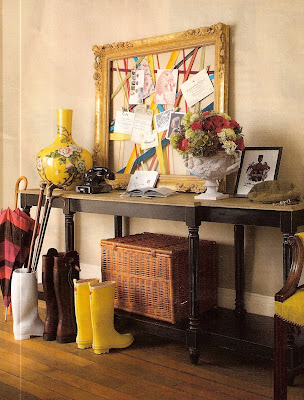
I made a ribbon board for one of my sisters-in-law a few years ago. She was going to college the following year, and I thought this would be a great way for her to organize her pictures, notes, etc. The nice thing about this craft is that you can customize it.
Materials:
-cork board
-batting
-piece of burlap or fabric that covers the cork board and wraps around to the back at least 1/2"
-ribbon; you can use different colors, widths and designs
-upholstery tacks
-staple gun
-hot glue gun
1. Start by stapling the batting and the burlap to the front of the cork board. Pull it taut and staple around the edge of the back.
2. Lay the ribbon across the board in the pattern you like (vertical, horizontal, diagonal, crisscross) and cut it accordingly. Staple the ends of the ribbon on the back of the board.
3. Use the upholstery tacks to secure the areas where the ribbon overlaps (the "intersections") and on the front edges of the board. Lightly tap the tacks into place.
4. Cover up the staples in the back by hot glue gunning a piece of ribbon around the edge.
Vertical ribbons
Crisscross ribbons

Ribbons placed haphazardly
Here is another idea for covering a corkboard.
.bmp)

No comments:
Post a Comment